
en – UK
Knowledge & Community
Search
K
Quote & source your parts
Europe Europe
Türkiye Türkiye
United Kingdom United Kingdom
Global Global
select
navigate
switch tabs
Esc close

Swipe to switch
between articles

Ultimate 3D Printing Design Guide

An ultimate collection of design tips for different 3D printing processes:
MJF, SLS, FDM, SLA, Polyjet, Carbon DLS, Nexa3D’s LSPc, DMLS, Metal Binder Jetting.

Quick Design Reference for 3D Printing

This brief overview of design features and process specifications is created to help you: 

  • Design your parts efficiently.
  • Compare different 3D printing processes to determine which technology best suits your design.
  • Maintain functionality while improving the quality and durability of your parts.

This quick guide is a summary of further sections. You can interactively choose processes to compare and see feature sizes and limitations achievable with each 3D printing process. Further sections provide detailed explanations about each feature for every process.

Comparison Table

SLS SLS

Selective Laser Sintering

MJF MJF

HP Multi Jet Fusion

FDM FDM

Fused Deposition Modeling

SLA SLA

Stereolithography

Carbon DLS Carbon DLS

Carbon DLS™

Polyjet Polyjet

Polyjet
DMLS DMLS

Direct Metal Laser Sintering
Description

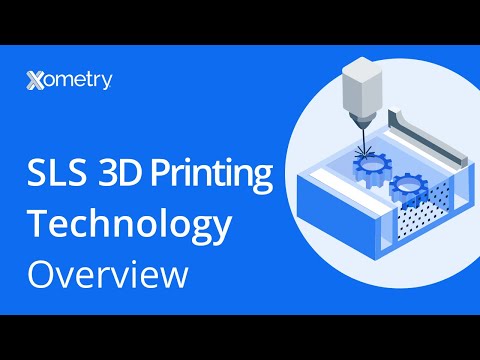
Selective Laser Sintering (SLS) 3D printing is one of the most widely used industrial additive manufacturing processes. Like MJF, SLS is used to produce strong, functional plastic parts.

Best Use Case

Strong and functional prototypes & low-volume production

Maximum Part Size

700 × 380 × 580 mm

Minimum Part Size

12.7 × 7.5 × 2.54 mm

Description

Multi Jet Fusion (MJF) 3D printing is one of the most widely used industrial additive manufacturing processes. Like SLS, MJF is used to produce strong, functional plastic parts.

Best Use Case

Strong and functional prototypes & low-volume production

Maximum Part Size

380 × 284 × 380 mm

Minimum Part Size

7.5 × 7.5 × 2.54 mm

Description

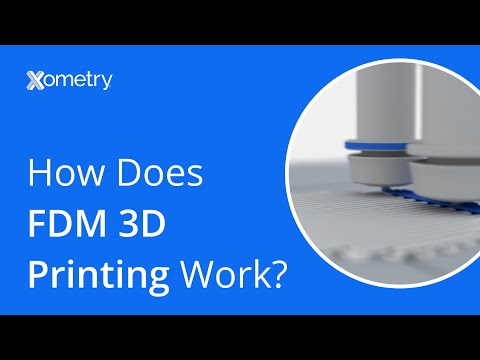
Fused Deposition Modeling (FDM) 3D printing is cost-effective and widely known for its great material selection, accuracy, and the possibility to print large, functional plastic parts.

Best Use Case

Maximum Part Size

900 × 600 × 900 mm

Minimum Part Size

Description

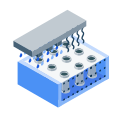
Stereolithography (SLA) 3D printing utilizes light-curable thermoset resins to build highly accurate, high-resolution parts. Its surface finish is one of the highest standards in the industry and recommended for aesthetic prototypes.

Best Use Case

Maximum Part Size

736 × 635 × 533 mm

Minimum Part Size

0
Bookmark (0)
Please login to bookmark Close
Open Article

General Best Practices for 3D Printing Design

Different 3D printing processes have their own unique design requirements, strengths, and limitations, depending on how the part is built with each specific process. Our guide covers specific parameters for SLS, MJF, FDM, SLA, Carbon DLS, Polyjet, DMLS, with deeper dives into each process and part feature in later sections. However, there are some general best practices that apply across all 3D printing methods, which we would like to cover in this section. By adhering to these best practices, you can significantly enhance the quality, efficiency, and durability of your printed parts.

Keep Minimum Wall Thickness in Mind

Minimum wall thickness is the smallest dimension a structure can have while still maintaining its intended strength and functionality. Below are the wall thickness requirements for different types of features to ensure structural integrity:

  • Self-supporting structures (e.g., X-, T-, O-, or C-like shapes): 1.00 mm (.039”).
  • Unsupported or load-bearing features (e.g., pins, tabs, or similar shapes): 1.50 mm (.059”).
Minimum wall thickness in 3D printing, supported (1 mm, .039″) and unsupported walls (1.5 mm, .059″)

Design With Even Wall Thickness

3D printed parts share many design considerations with injection molding, particularly the importance of uniform wall thickness. Maintaining uniform wall thickness helps reduce thermal deviations that occur between areas of varying thickness, which can lead to uneven cooling, warping, or dimensional inaccuracies. To add strength without increasing overall thickness, consider adding ribs, coring, or lattice structures.

Adding ribs to increase parts strength instead of changing wall thickness

Adding coring to increase parts’ strength instead of increasing thickness.

Adding ribs to increase part strength in 3D printing
Adding coring to increase parts' strength instead of increasing thickness.

An exception to this is fused deposition modeling (FDM), where infill patterns can be adjusted to create sparse, lattice-like cross sections, offering similar structural benefits.

Provide Clearance Between Moving Features

The gap between print-in-place assembly features is crucial to prevent components from fusing together during printing and to ensure smooth movement or separation between components.

To maintain functionality, a minimum clearance of 0.70 mm (.028”) should be designed.

Minimum recommended clearance between moving features in 3D printing – 0.7mm (.028″)

Remove Confined Hollows

Most commercial 3D printing processes will have trapped material or support structure in confined hollows. Line-of-sight access to clean or drain these areas is necessary. These access areas are often called “escape holes,” because they allow for material to escape during post processing.

Any cavity with a depth beyond 50.80 mm (2”) with only one access point, such as a boss, may require multiple escape holes for cleaning. We recommend making escape holes at least 5 mm (.196”) in diameter.

Escape holes for material removal in 3D printing

Fillet Everything

Fillets, or rounded internal and external corners, are preferred in every 3D printing process to mitigate transitions between features and reduce acute stress points. Generous filleting can increase the end-use performance of a printed part.

Illustration: Internal and external fillet

Be Mindful of Cantilevers

Illustration: Cantilever

3D printing offers significant freedom in design, but features like cantilevers and “lollipop heads” tend to be more fragile compared to the rest of the part. Careful consideration is required when designing these elements, particularly if they are crucial to the part’s functionality.

In some cases, it is advisable to make these features replaceable or use off-the-shelf pins, especially for large parts where they risk being crushed or damaged by the part’s weight.

0
Bookmark (0)
Please login to bookmark Close
Open Article